Imagine you are sitting and surfing the web on your computer and a message pops up on your computer screen. It tells you that your system has an IP address conflict with another system on the same network. Afterward, the Internet simply stops working on your computer.
If you get stuck in such a situation, don’t worry just yet. It is not an uncommon problem and it certainly does not require any external assistance. You can fix it on your own. Just like I learned when one fine morning our office internet stopped. It turned out there were too many users on the network. We simply switched to one of the better Cox internet plans and never had that issue again!
Table of Contents
What is an IP Address Conflict?
Before jumping to the solution, it is important to fully understand what an IP Address Conflict is. For a network to operate successfully on your system, your system needs to have a unique IP address. However, if there are multiple users on the same network, the IP address can sometimes end up being the same.
Once this problem gets detected by the two systems, the connection becomes unstable on these. In some cases, the Internet can simply stop working.
What Are the Reasons Behind It?
Some of the recurring reasons for this problem are:
- Two systems are allocated the same IP addresses
- When a laptop recovers from sleep mode while being connected to another network that has allocated the same IP address to another system
- More than one network adaptor can cause a system to develop an IP address conflict with itself
- More than one wireless routers being connected to your network and DHCP enablement on multiple devices can also cause this problem
Ways to Fix an IP Address Conflict
There are a number of ways to go about it. These solutions are easy and cost-effective.
1. Restarting Your System
Sometimes, something as simple as restarting your computer can fix the problem. Your system can take care of a problem on its own if it is not a big one.
2. Renewing the IP Address
Here’s a step by step guideline to renew your system’s IP address:
- Click on Start and search for the ‘Command Prompt’
- Type the command ‘ipconfig /release’ and run it
- The DHCP will automatically assign a unique IP address to your system
- Restart your system to update the settings
ipconfig /release
3. Reconfiguring the Static IP Address
If the command ‘ipconfig /release’ returns the following error message, ‘The operation failed as no adapter is in the state permissible for this operation’ then you will have to reconfigure your system’s static IP address.
You may choose to manually enter an IP address or get it from a DHCP server. To pursue these options, follow these guidelines:
- Click on Start and search for the ‘Control Panel’
- Open the ‘Network and Sharing Center’
- Select the ‘Change Adapter Settings’ option
- Select the icon of the adapter that is in current use
- Select the ‘Properties’ option
- Select the ‘Internet Protocol Version 4’ and click on the ‘Properties’ button
- To get an IP address from DHCP, select the option ‘Obtain an IP address automatically’
- To manually enter an IP address, select the option ‘Use the following IP address’
Getting an IP address from DHCP is always a more reliable option than manually entering one. This is because DHCP better knows about the already taken and new IP addresses.
4. Restarting Your Wireless Router
If your IP address conflict still doesn’t get resolved, it might be a good idea to check your wireless router. The router might be running for months without a reboot. And its software might have gotten faulty because of overuse. Therefore, it is a good idea to reboot your router to get this problem fixed. To improve functioning, consider restarting your system too.
5. Updating the Router Firmware
No matter how reliable the DHCP may be, it is not fool-proof. It can accidentally allocate the same IP address to more than one computer. If you haven’t updated the firmware on your router yet, now is the time to do so. Follow these steps to update it:
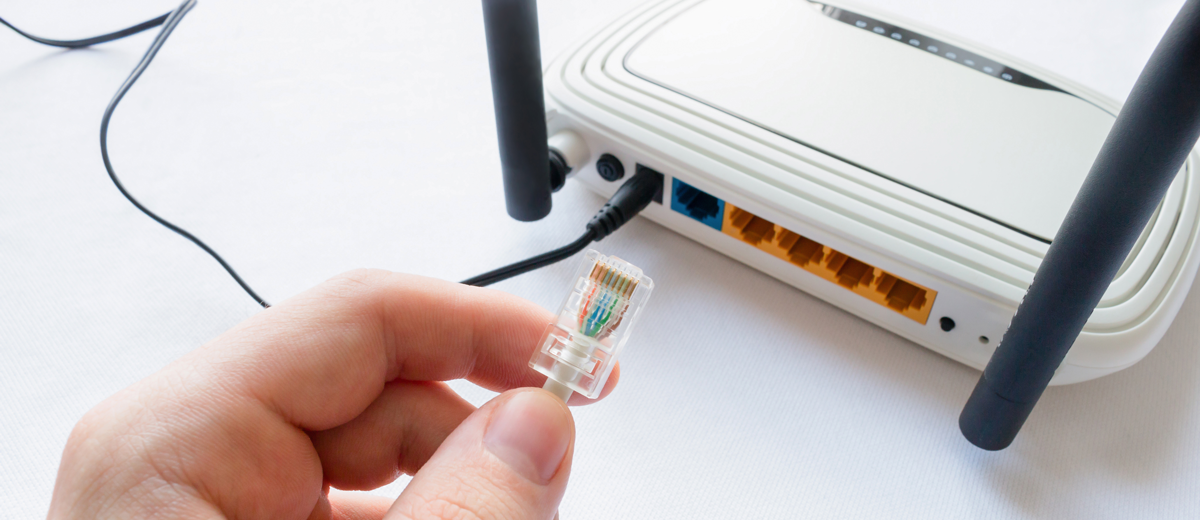
- Connect your computer with the router with an Ethernet cable
- Open a browser and enter your router’s IP address in the search bar
- Enter the username and password (You can find it on your router’s manual)
- Find the ‘Firmware Upgrade’ Option and find your router’s firmware version
- Visit your router’s developer website and look for the ‘Support’ option
- Search for your router’s model and look for updates
- Download the update and extract it on your desktop
- Now go back to the ‘Firmware Upgrade’ tab and choose the downloaded file on your PC
- Start the Upgrade
- After the process gets completed, your router will restart automatically.
Final Words
These methods can help you fix your IP address conflict with ease. However, sometimes the problem might be misplaced as well. If your Internet stops working and none of these solutions work, it is a good idea to seek customer service, like Cox internet support in our case, to find the root cause of the issue.


